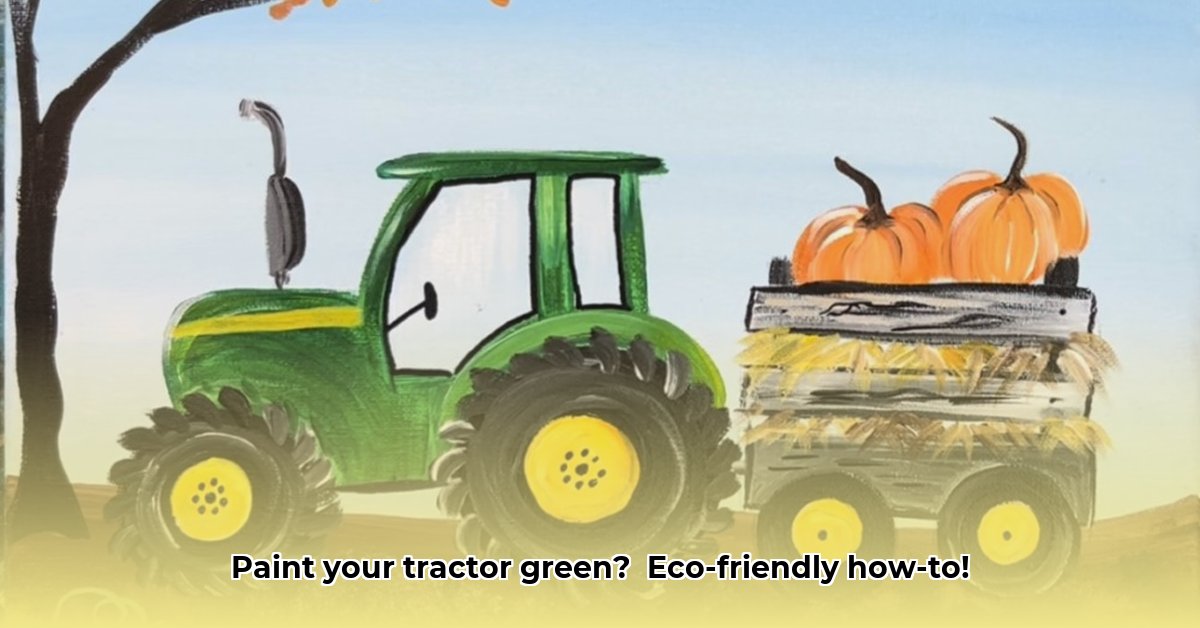
Giving your tractor a fresh coat of paint isn't just about aesthetics; it's a smart way to extend its lifespan and enhance your farm's sustainability. This guide provides a step-by-step approach to repainting your tractor while minimizing environmental impact. For more information on eco-friendly tractor paints, check out this helpful resource: tractor paint options.
Preparing Your Tractor: Laying the Foundation for a Durable Finish
Before you even consider paint, thorough preparation is crucial. This phase ensures a long-lasting, professional-looking finish and prevents future problems. Think of this stage as foundational—skipping steps here will impact the final result.
Thorough Cleaning: Begin with a power wash to remove all loose dirt, mud, and grime. A degreaser may be necessary for stubborn grease or oil stains. (Remember to follow the product instructions carefully).
Rust Removal: Rust is the enemy of a good paint job. For light surface rust, a wire brush is sufficient. For more significant rust, utilize a chemical rust remover, following the manufacturer's safety guidelines carefully. (Always wear appropriate personal protective equipment).
Smoothing the Surface: Sanding creates a smooth surface for optimal paint adhesion. Use various grits of sandpaper, beginning with a coarser grit to remove imperfections and gradually moving to finer grits for a completely smooth finish. (Start with a 80-grit, progress to 120-grit, and finish with 220-grit for a professional finish).
Priming for Adhesion: A high-quality primer is essential. It improves paint adhesion, prevents rust, and creates a uniform surface. Apply a couple of thin coats rather than one thick coat, allowing each to dry completely before the next coat application. (Proper drying time is crucial for adhesion.)
Choosing Your Paint: Eco-Friendly Options for Sustainable Agriculture
The type of paint significantly impacts the final result and the environment. Let's compare common options:
| Paint Type | Pros | Cons | Sustainability Rating |
|---|---|---|---|
| Water-Based | Low or zero VOCs, minimal odor, easy cleanup | May require more coats, potentially less durable than solvent-based | Excellent |
| Solvent-Based | Excellent durability, superior gloss, quick drying | High VOCs (Volatile Organic Compounds), strong odor, environmental concerns | Poor |
| Powder Coating | Extremely durable, very low VOCs, efficient application | Requires specialized equipment | Excellent |
For sustainable agriculture, water-based paints with low or zero VOCs are the best choice. They minimize environmental impact and are better for your health. Powder coating is a highly sustainable alternative, but requires specialized equipment and might be more expensive.
Where to Source Eco-Friendly Paints: Agricultural supply stores, online retailers, and paint suppliers specializing in environmentally conscious products are good starting points.
Painting Process: Achieving a Professional-Looking Finish
With preparation complete, it's time to apply the paint.
Multiple Thin Coats: Apply several thin coats, allowing each to dry completely before applying the next. This minimizes runs and ensures uniform coverage. (Three thin coats are generally recommended for water-based paint).
Application Techniques: The best method depends on your tractor's size and your experience. An HVLP spray gun provides the most even finish, while rollers work well for smaller areas, and brushes are useful for details. (A spray gun ensures the most consistent finish, but rollers are more suitable for smaller tractors).
Drying Time: Strictly follow the manufacturer's drying time recommendations between coats. Rushing this step can damage the finish and require rework. (Adequate drying time is key.)
Proper Cleanup: Clean all equipment thoroughly; dispose of leftover paint and cleaning materials in compliance with local regulations. (Improper disposal is environmentally harmful).
Post-Painting Care: Protecting Your Investment
Proper maintenance will extend the life of your newly painted tractor.
- Regular Washing: Regular washing removes dirt and debris, preventing damage and enhancing the paint's lifespan.
- Waxing: Optional waxing adds protection against UV damage and enhances shine.
Cost Analysis: DIY vs. Professional Painting
The total cost depends on whether you choose to paint yourself or hire a professional.
| Cost Category | DIY | Professional |
|---|---|---|
| Materials | \$100-\$500 (depends on paint type and quantity) | \$200-\$1000+ (depends on paint, prep work) |
| Labor | Your time | \$1000-\$2500+ (labor costs vary significantly) |
| Waste Disposal Fees | \$0-\$50 (depends on paint type and local regulations) | Usually included in professional fees |
DIY saves on labor costs, but professional painting guarantees a flawlessly smooth and long-lasting finish. Choose the option best suited to your skills, time constraints, and budget.
Environmental Considerations: Sustainable Practices
Using eco-friendly paints and proper disposal are crucial for responsible farming. Minimize waste, utilize appropriate containers, and strictly follow local regulations for paint waste disposal. Remember, sustainability is a holistic approach.
Conclusion: Investing in Longevity and Sustainability
Repainting your tractor is far more than just aesthetics. It's a strategic investment in its longevity and a commitment to environmental responsibility. By following these steps and making informed choices, you'll enhance your tractor's appearance and contribute to sustainable farming practices.